Step
1-Configuration setup
Step
1-Configuration setup
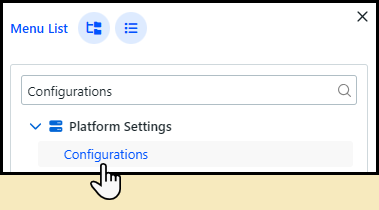
1 Go to Platform Settings > Configurations.
You can press
CRTL+F on the keyboard
to open the Menu List,
where you can easily search for a page.
2 Select the Pick Workflow tab and complete the setup:
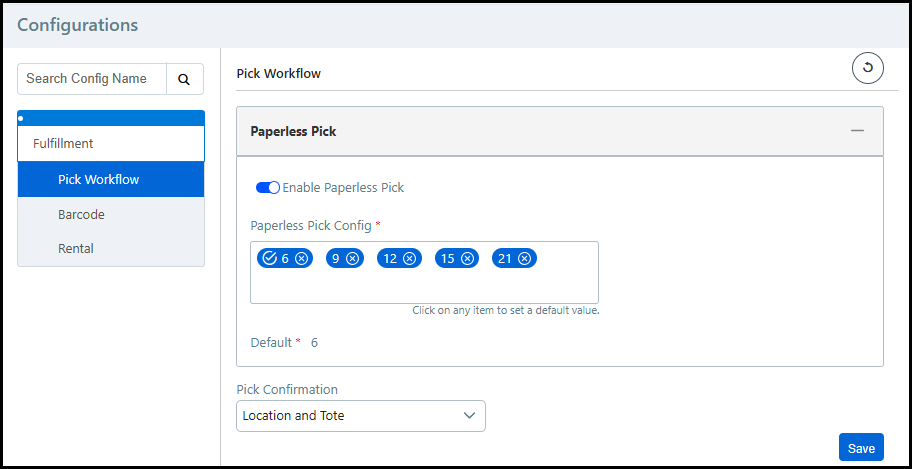
● Enable Paperless Pick: Select the toggle to enable the paperless pick workflow.
● Paperless Pick Config: Enter the number of totes the pickers will use at one time. Click a tote number to make it the default selection in Mobile Fulfillment.
You can have multiple pick configuration options.
● Pick Confirmation: Choose the barcode(s) to scan to verify the pick.
If there are multiple barcodes to scan during pick confirmation, then the first barcode listed must be scanned first. For example, if you choose Location and Tote, then you must scan the Location barcode first and the Tote barcode second.
3 Click Save.
For more information on the Pick Workflow tab, see Pick Workflow.
Step
2-Release orders
1 Go to Production > Operator View.
2 Select the line items you want to release from the Operator View table.
● If you select line items from multiple orders, then the Batch Release option will be available in the job management tasks.
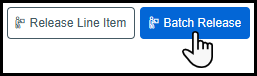
3 Click Release Line Item to release all the selected line items together.
4 Click Batch Release to group the released line items into smaller batches of separate orders.
The Batch Release option, also known as wave release, is ideal for releasing a large number of orders at the same time. For example, if you release 100 orders, you can separate them into batches of 10 orders each.
● Complete the fields in the Batch Size window:
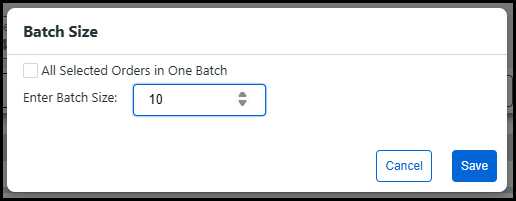
● All Selected Orders in One Batch: Click the check-box to release all selected orders into a single batch.
● Enter Batch Size: Enter the number of orders per each batch.
● Click Save.
If you are doing a paper pick instead of paperless, you will receive a pick slip for each batch. For example, if you release 100 orders and separate them into batches of 10 orders, you will receive 10 pick slips with 10 orders each.
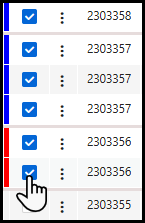
5 Go to Fulfillment > Pick View.
6 Locate the batch ID from the Batch ID column.
The Batch ID number is used to locate the batch in Mobile Fulfillment.
● To enable the Batch ID column:
● Click the Customize icon.
![]()
● Select Release Batch ID from the Customize List window.
● Click Apply.
Step
3-Pick orders using Mobile Fulfillment
1 Go to Fulfillment > Mobile Fulfillment.
2 Tap Items to be Picked to open the Paperless Pick screen.
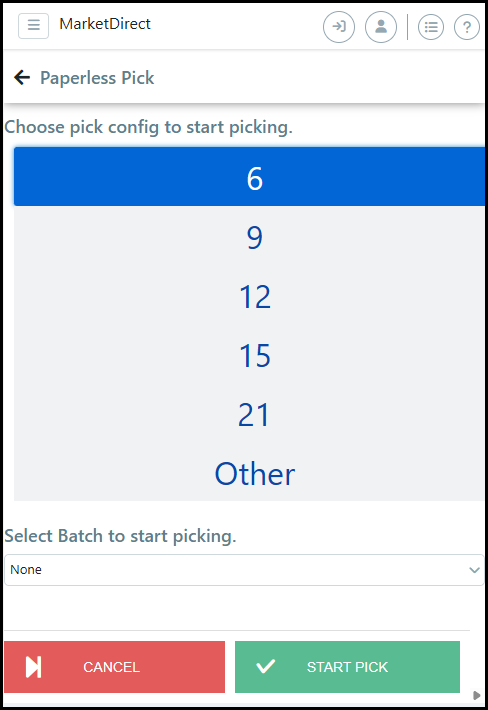
3 Tap the number of totes for the pick from the Choose pick config to start picking list.
Each
tote is designated to a single order by default.
Tap Other to
enter a number not available in the list.
4 Choose the batch ID to pick from the Select Batch to start picking drop-down list.
You will see the number of orders that corresponds to the number of totes. If the batch contains more orders than the number of totes, then you will only see enough orders to fill each tote. If the batch contains less orders than the number of totes, then you will see each order in the batch.
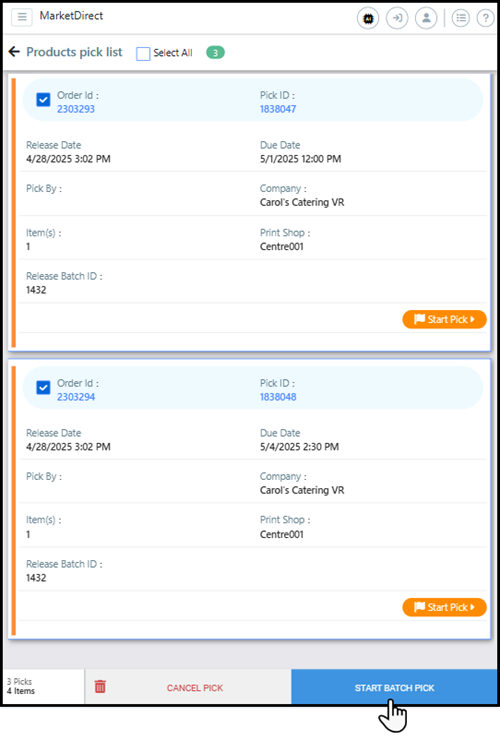
5 Verify all orders are selected on the Products pick list page and tap Start Batch Pick.
6 Locate the items, and scan the barcode(s) to confirm the pick.
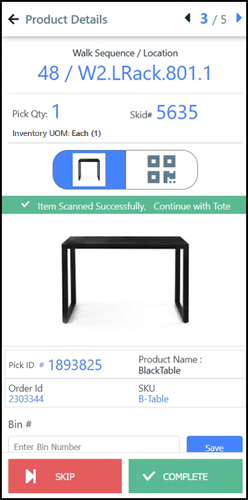
7 After the Pick Confirmation barcode(s) are scanned for each item in the order, the Confirm Pick up page will open.
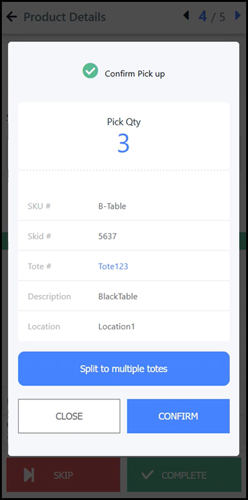
If the tote barcode is scanned to complete
the pick, then the tote number will be available in the Confirm
Pick up page.
If a different tote is scanned for separate items in a pick, then
the system will notify the user they are selecting a new tote
and to either put the items in the same tote or to confirm a separate
tote is being used. For example, if an order contains a table
and a chair, then the table would be placed in one tote and the
chair would be placed in a different tote.
8 Tap Split to multiple totes to store a single item in multiple totes.
Splitting an item into multiple totes may be necessary if the item contains a group of physically large products, or there are a large number of products in the order. For example, if an order contains 3 tables as single item, then each table may need to be split into a separate tote. Another example is if an order contains 50 cans of soda as a single item, then the item may need to be split into two totes each containing 25 cans.
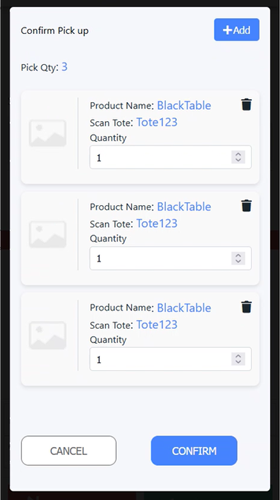
● Tap Add for another tote.
● Enter the Quantity of the item placed in each tote.
● Re-scan the barcodes of each item to confirm the pick.
9 Tap Confirm to confirm a successful pick.
10 Tap Close to return to the previous page.
Step
4-Ship orders
1 Go to Production > Order View.
2 Select the orders to ship from the Order View table.
3 Click Mark as Shipped from the order management tasks.
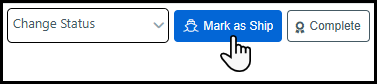
The Tote column on the Operator View displays the ID of the tote storing the order. Once the order is shipped, the tote ID will disappear so the tote can be used for another order.
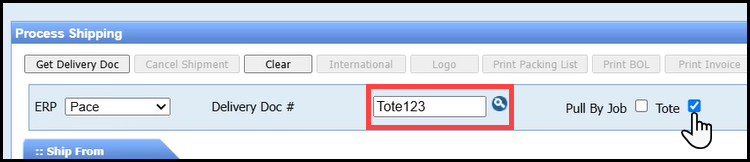
For MarketDirect StoreFront accounts integrated
with Process Shipper, you can search for the Tote
Number using the Delivery
Doc# field if you enable the Tote
setting.